

Did you know that you can create, manage, and publish your entire event from one place, keeping registrations, schedules, and attendee information fully organized?
Creating a well-structured event is essential for delivering a smooth and professional experience, especially when managing registrations, schedules, and attendee information.
Using Zoho Backstage, you can centralize every part of your event in one place, from setup to execution. This helps reduce manual coordination, save time, and keep your data consistent.
This guide walks you through how to create your event, so you can stay organized and focus on delivering a successful experience for your attendees.
How to create and launch a successful event in Zoho Backstage:
Step-by-Step Instructions:
Creating Your Event
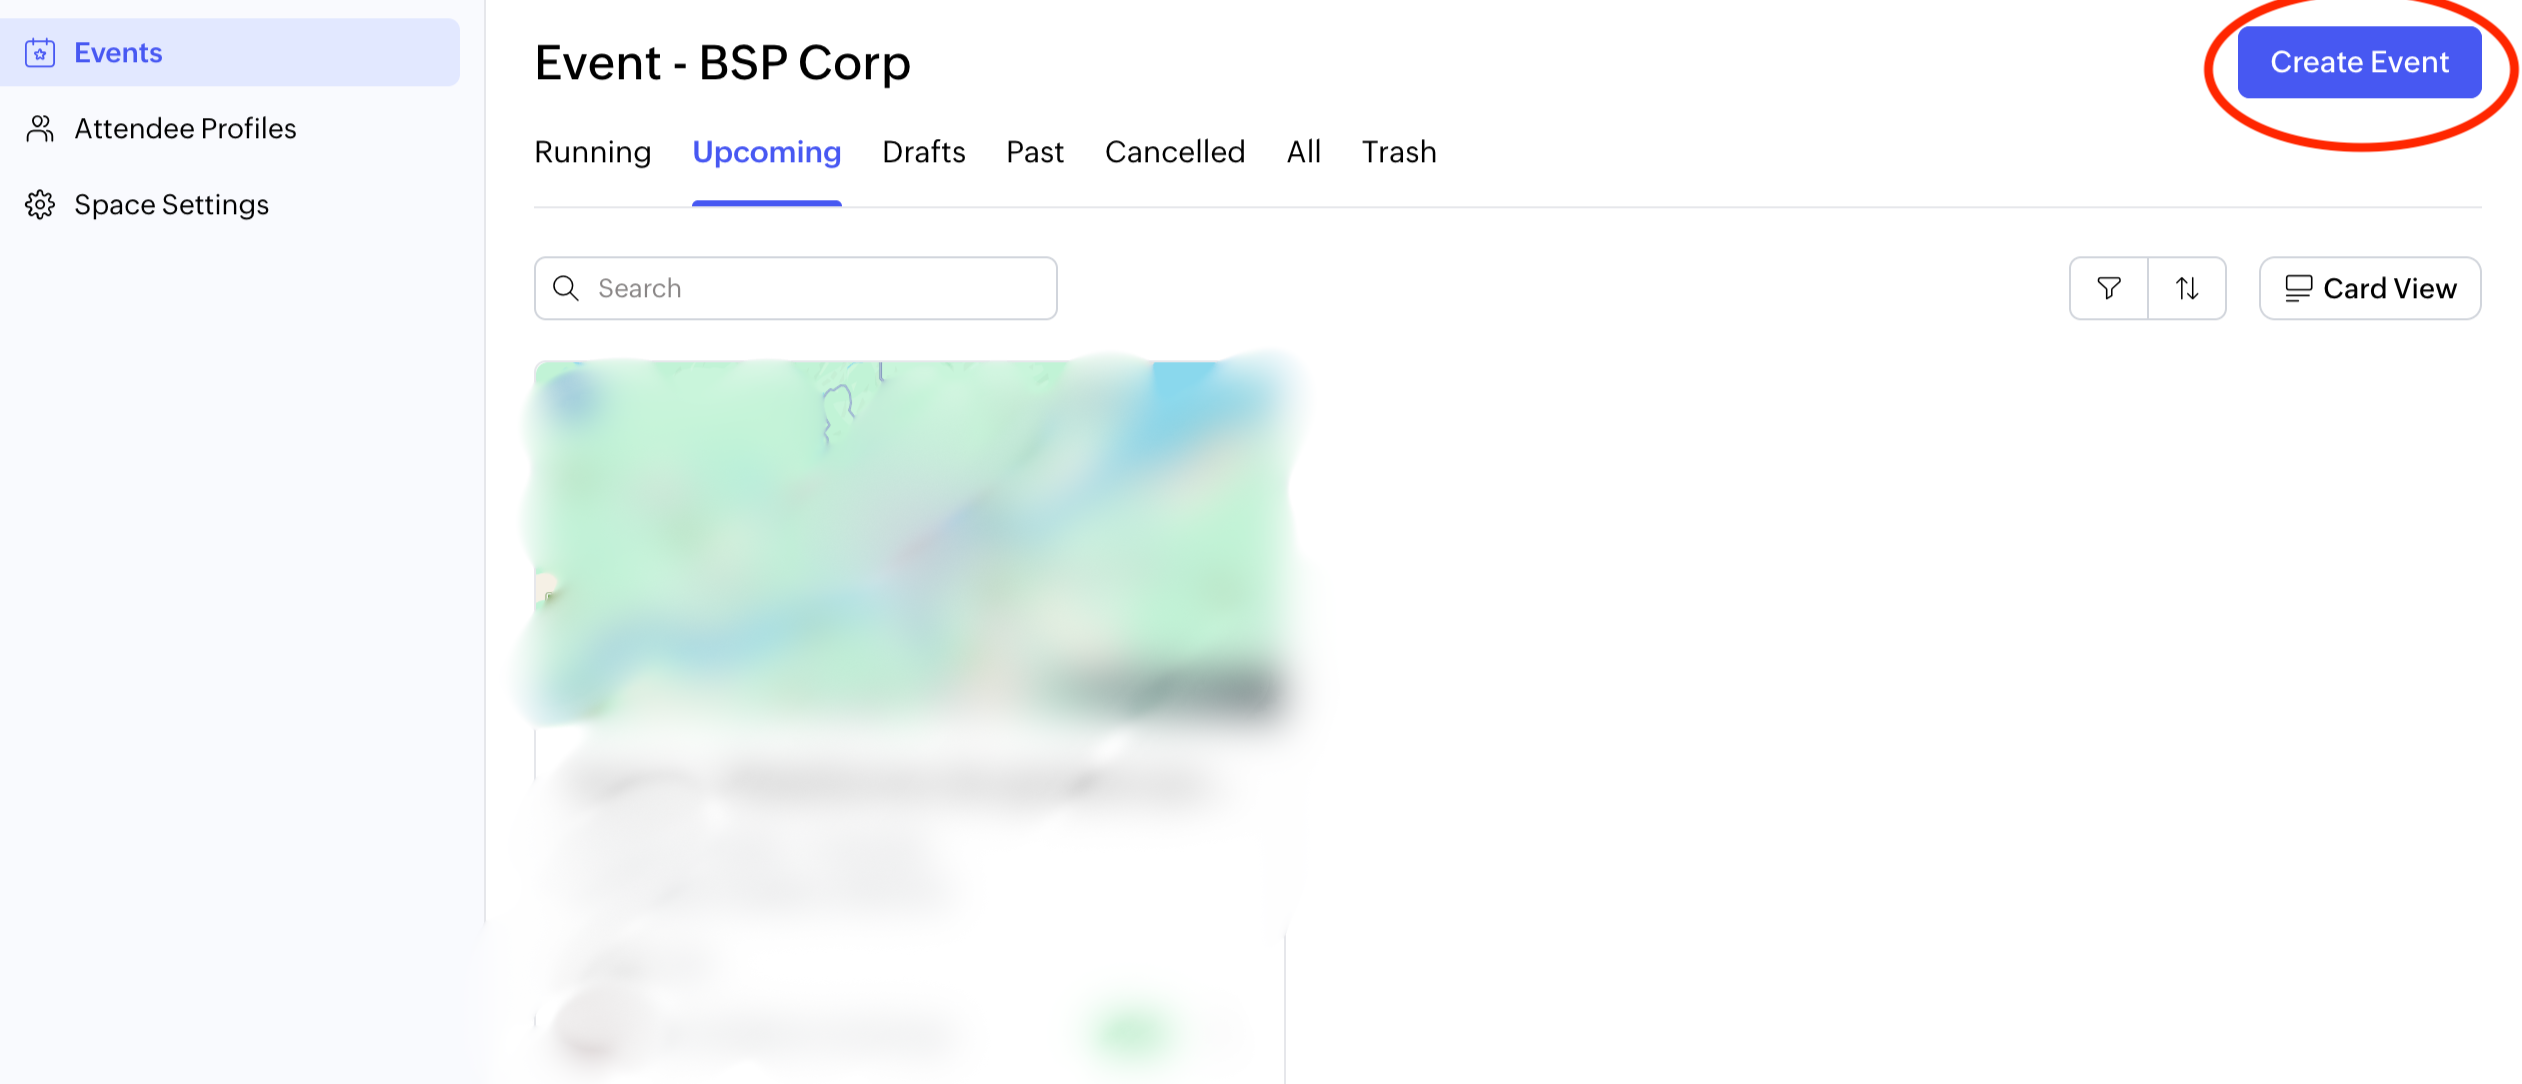
1. Start a new event
In your Events tab, click the Create Event button located in the top-right corner.
2. Select your event format
In the setup window, choose the type of event you want to host:
- In-person: For events held at a physical location with attendees on-site
- Virtual: For fully online events with remote participation
- Hybrid: A combination of both in-person and virtual experiences
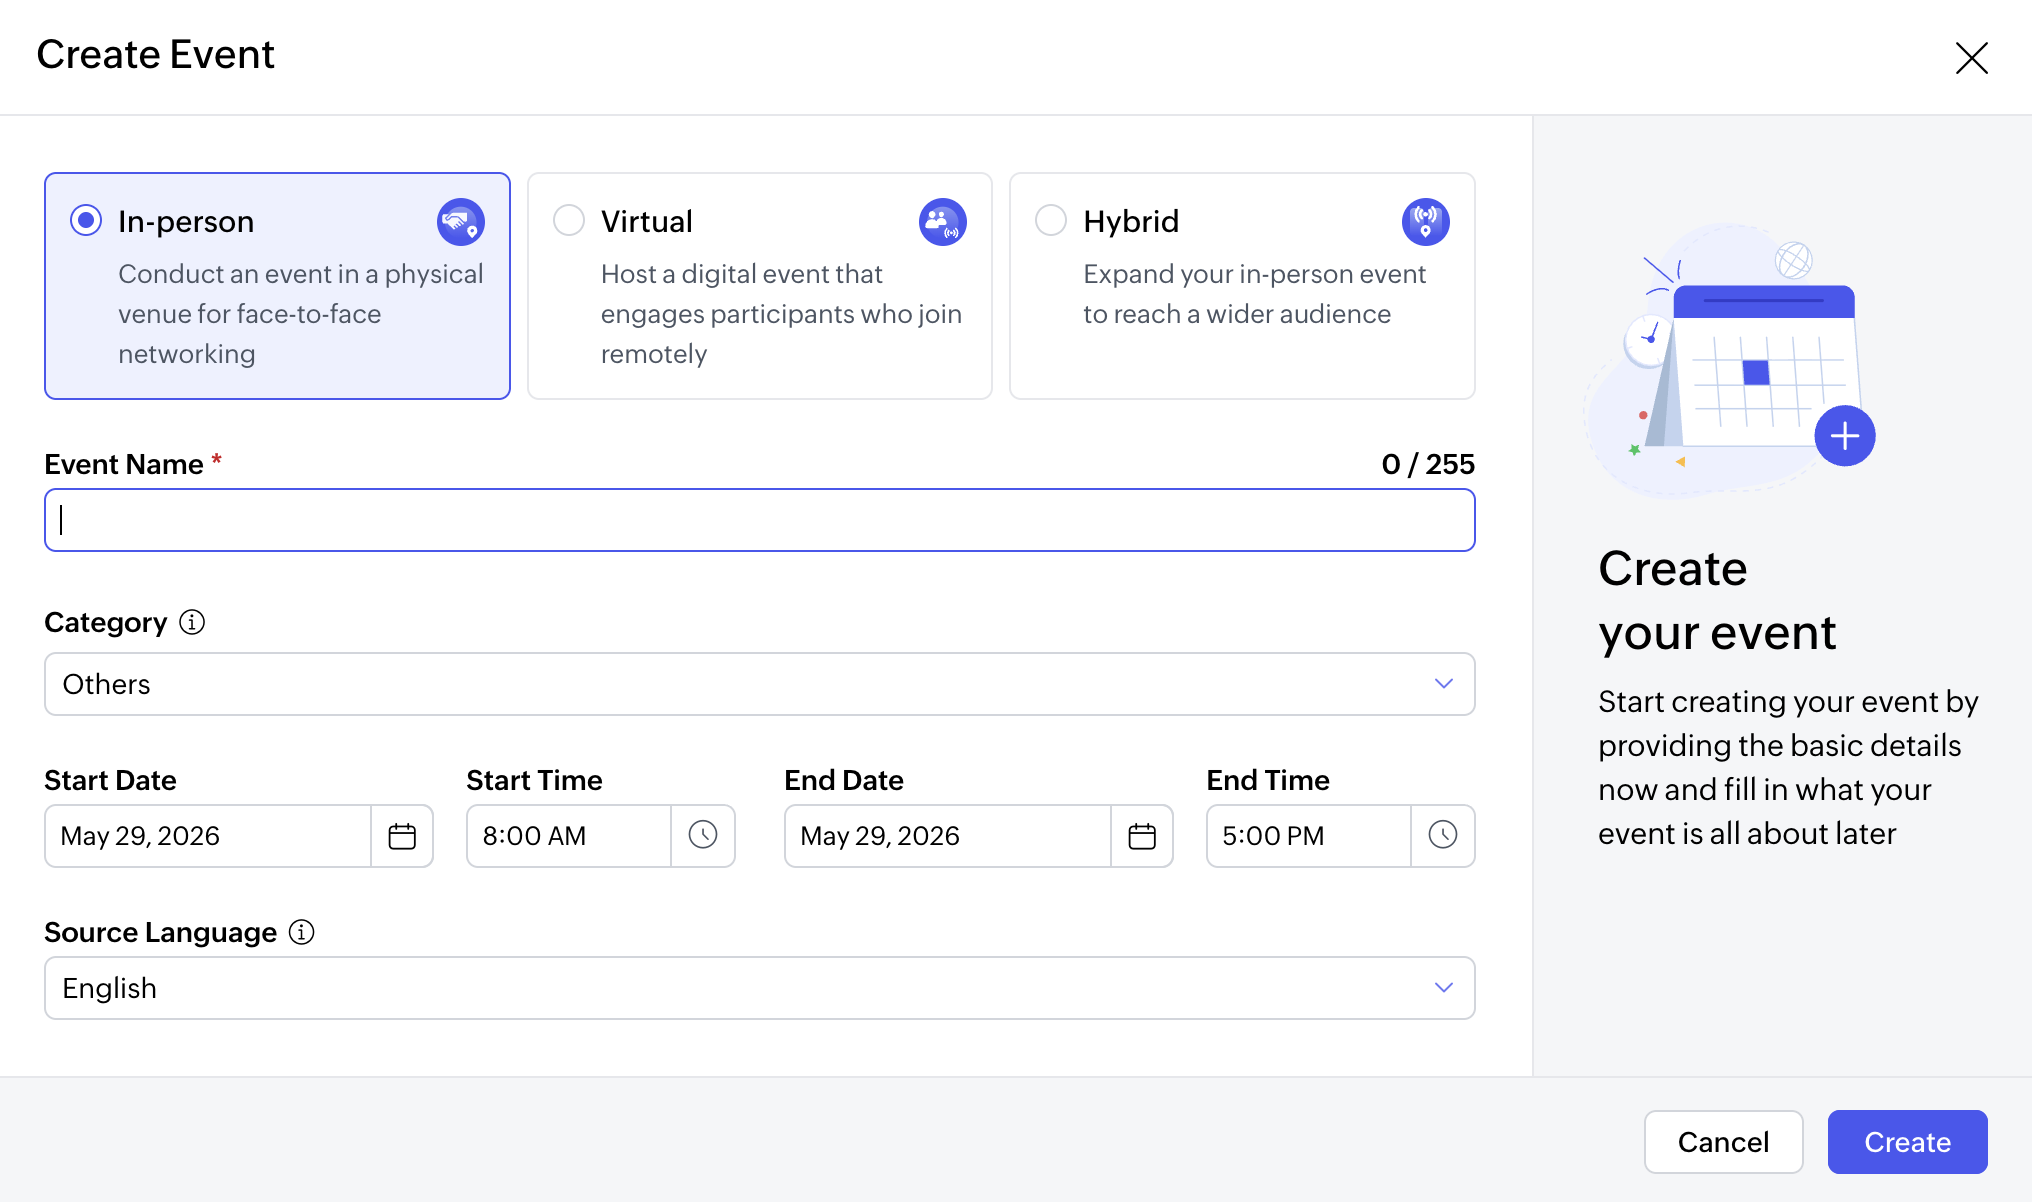
3. Add your event name
Enter a clear and descriptive name for your event.
4. Set your event schedule
Define the start and end date and time for your event.
5. Choose your website language
Select the primary language for your event website.
- Save your event
Click Create to save your event as a draft.
Note: You will be taken to the Event Info section, where you can complete additional details and continue building your event.
Editing Event Details
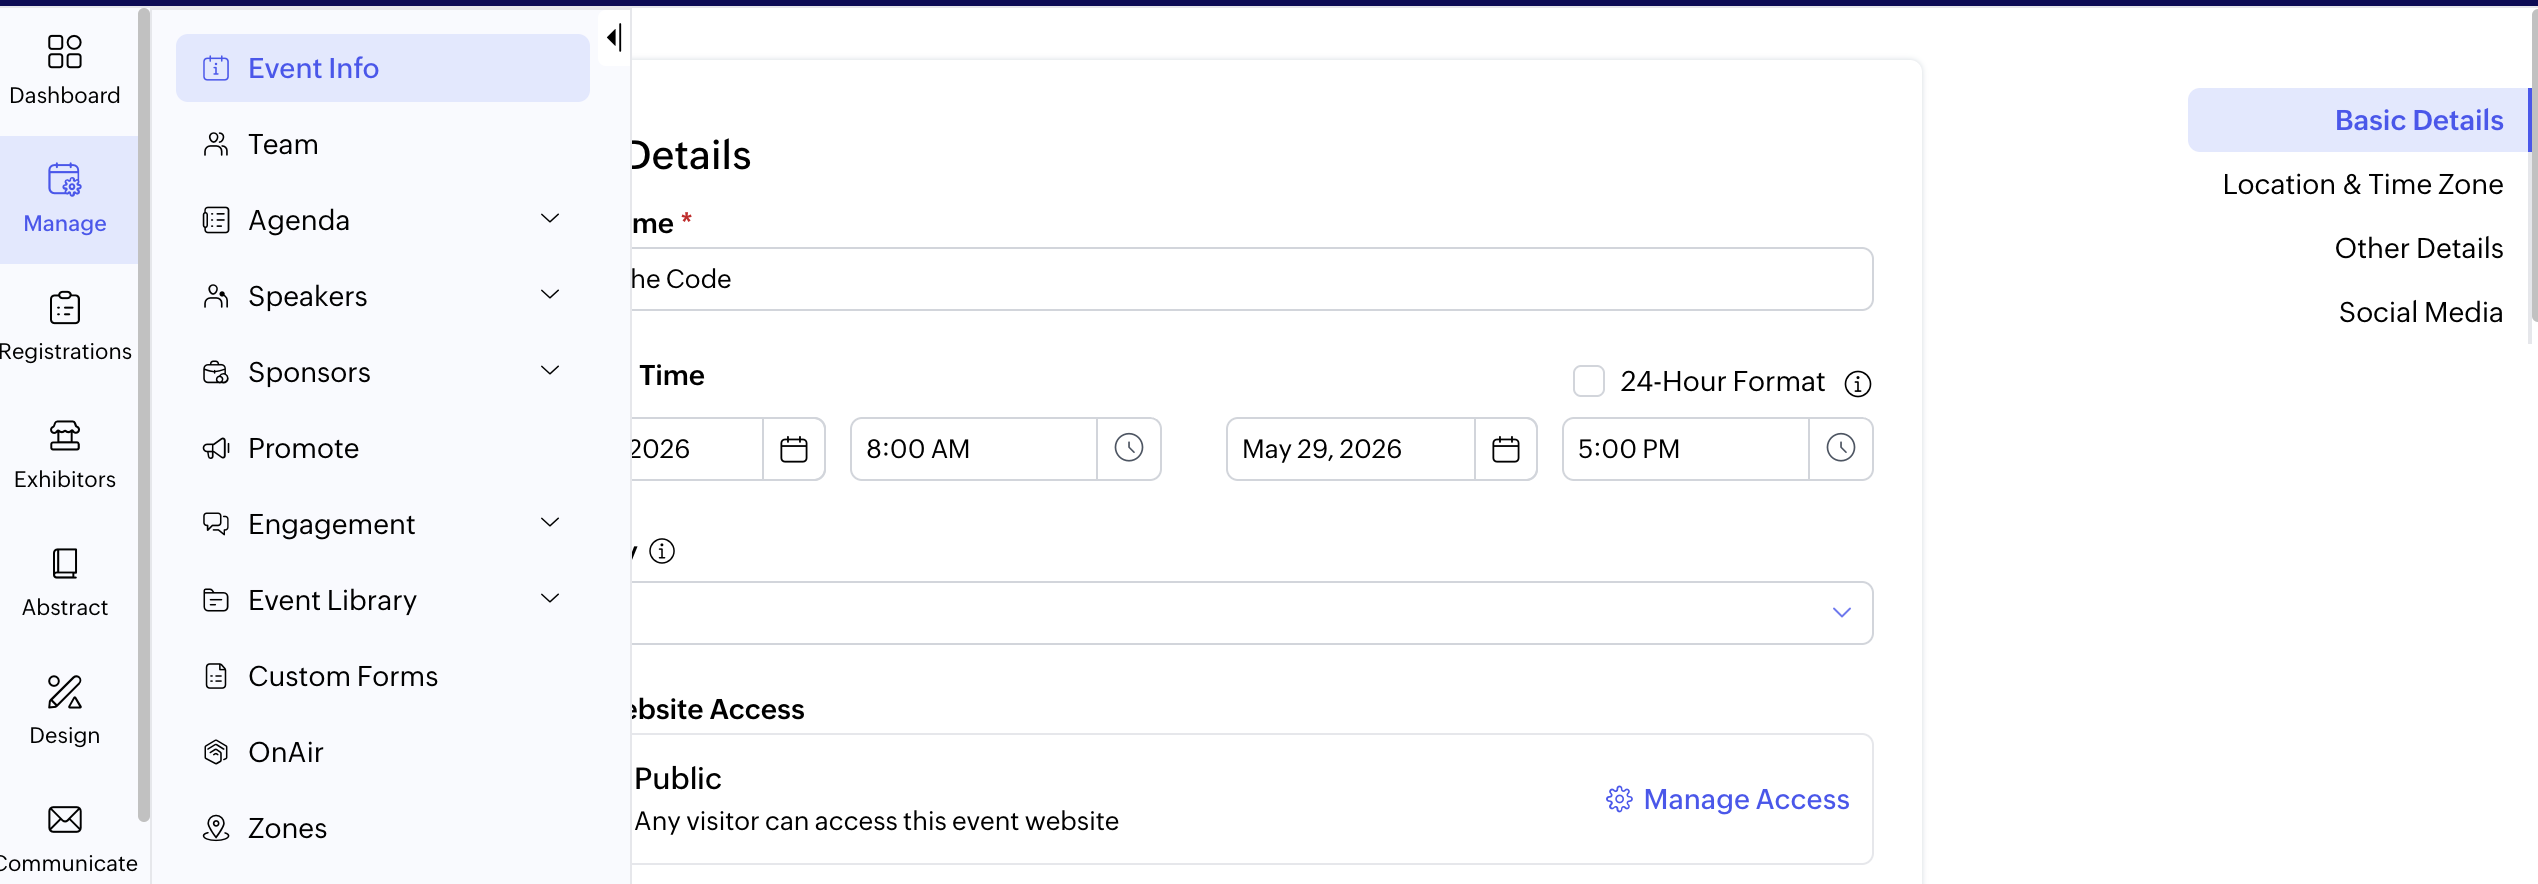
1.Access your event settings
From the Dock, go to Manage > Event Info > Basic Details.
2. Set your event visibility
Choose whether your event will be Public or Private.
You can also control who can register by limiting access to specific email domains.
3. Save your changes
Click Save to apply your updates.
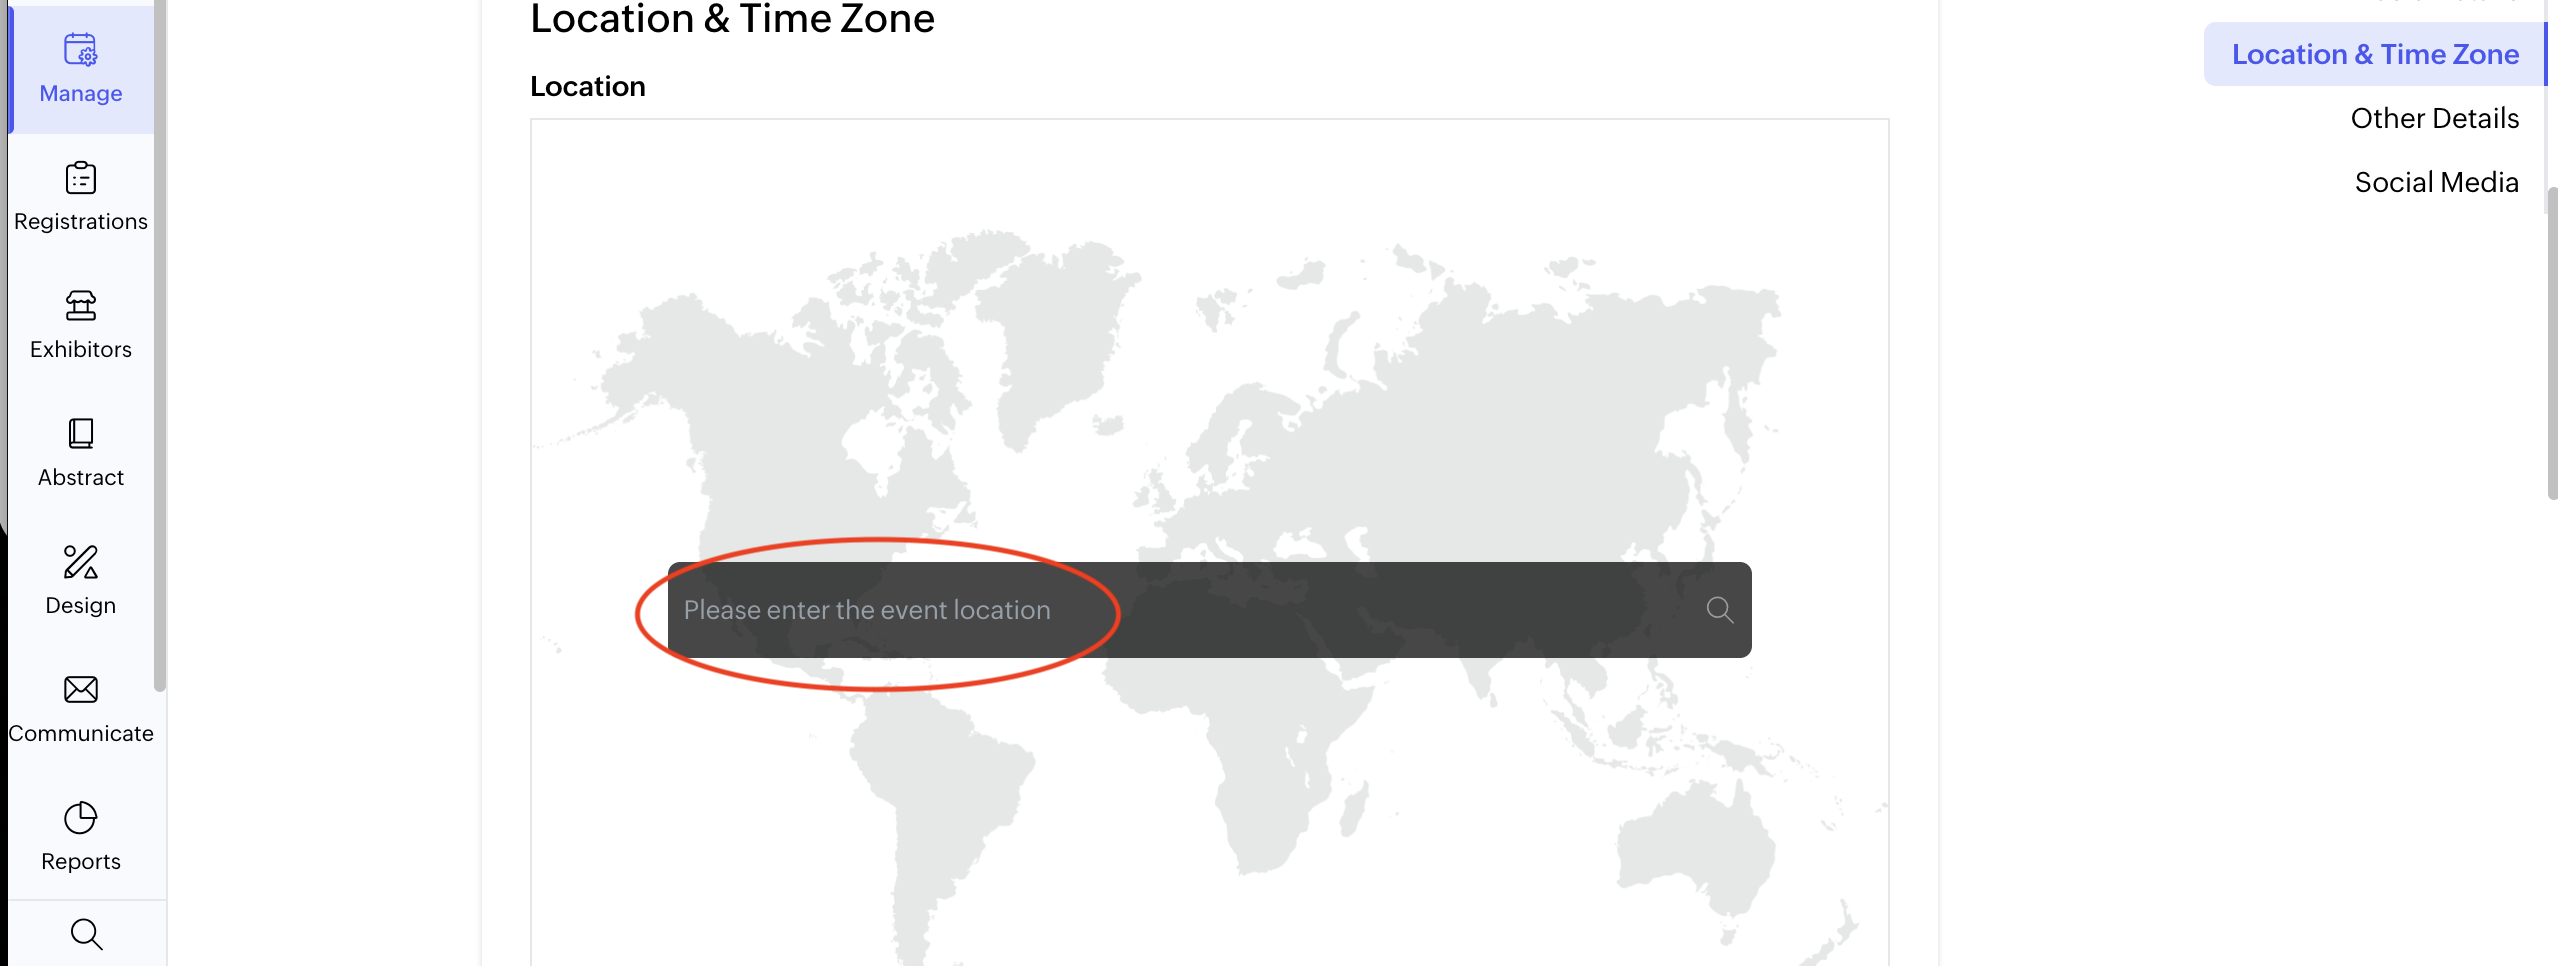
4. Select your event location
Choose your venue from the Location dropdown.
5. Update location images
Add or change images for your venue as needed.
To upload a new image, hover over the image area and click the Upload icon.
6. Set the time zone
Select the correct time zone to ensure your schedule displays accurately.
7.Add a short summary
Include a brief overview using relevant keywords to improve search visibility.
8. Write your event description
Provide details about your event so attendees know what to expect.
9. Choose an event category
Select the most relevant category from the dropdown.
10. Add tags
Use tags to describe your event and make it easier to find.
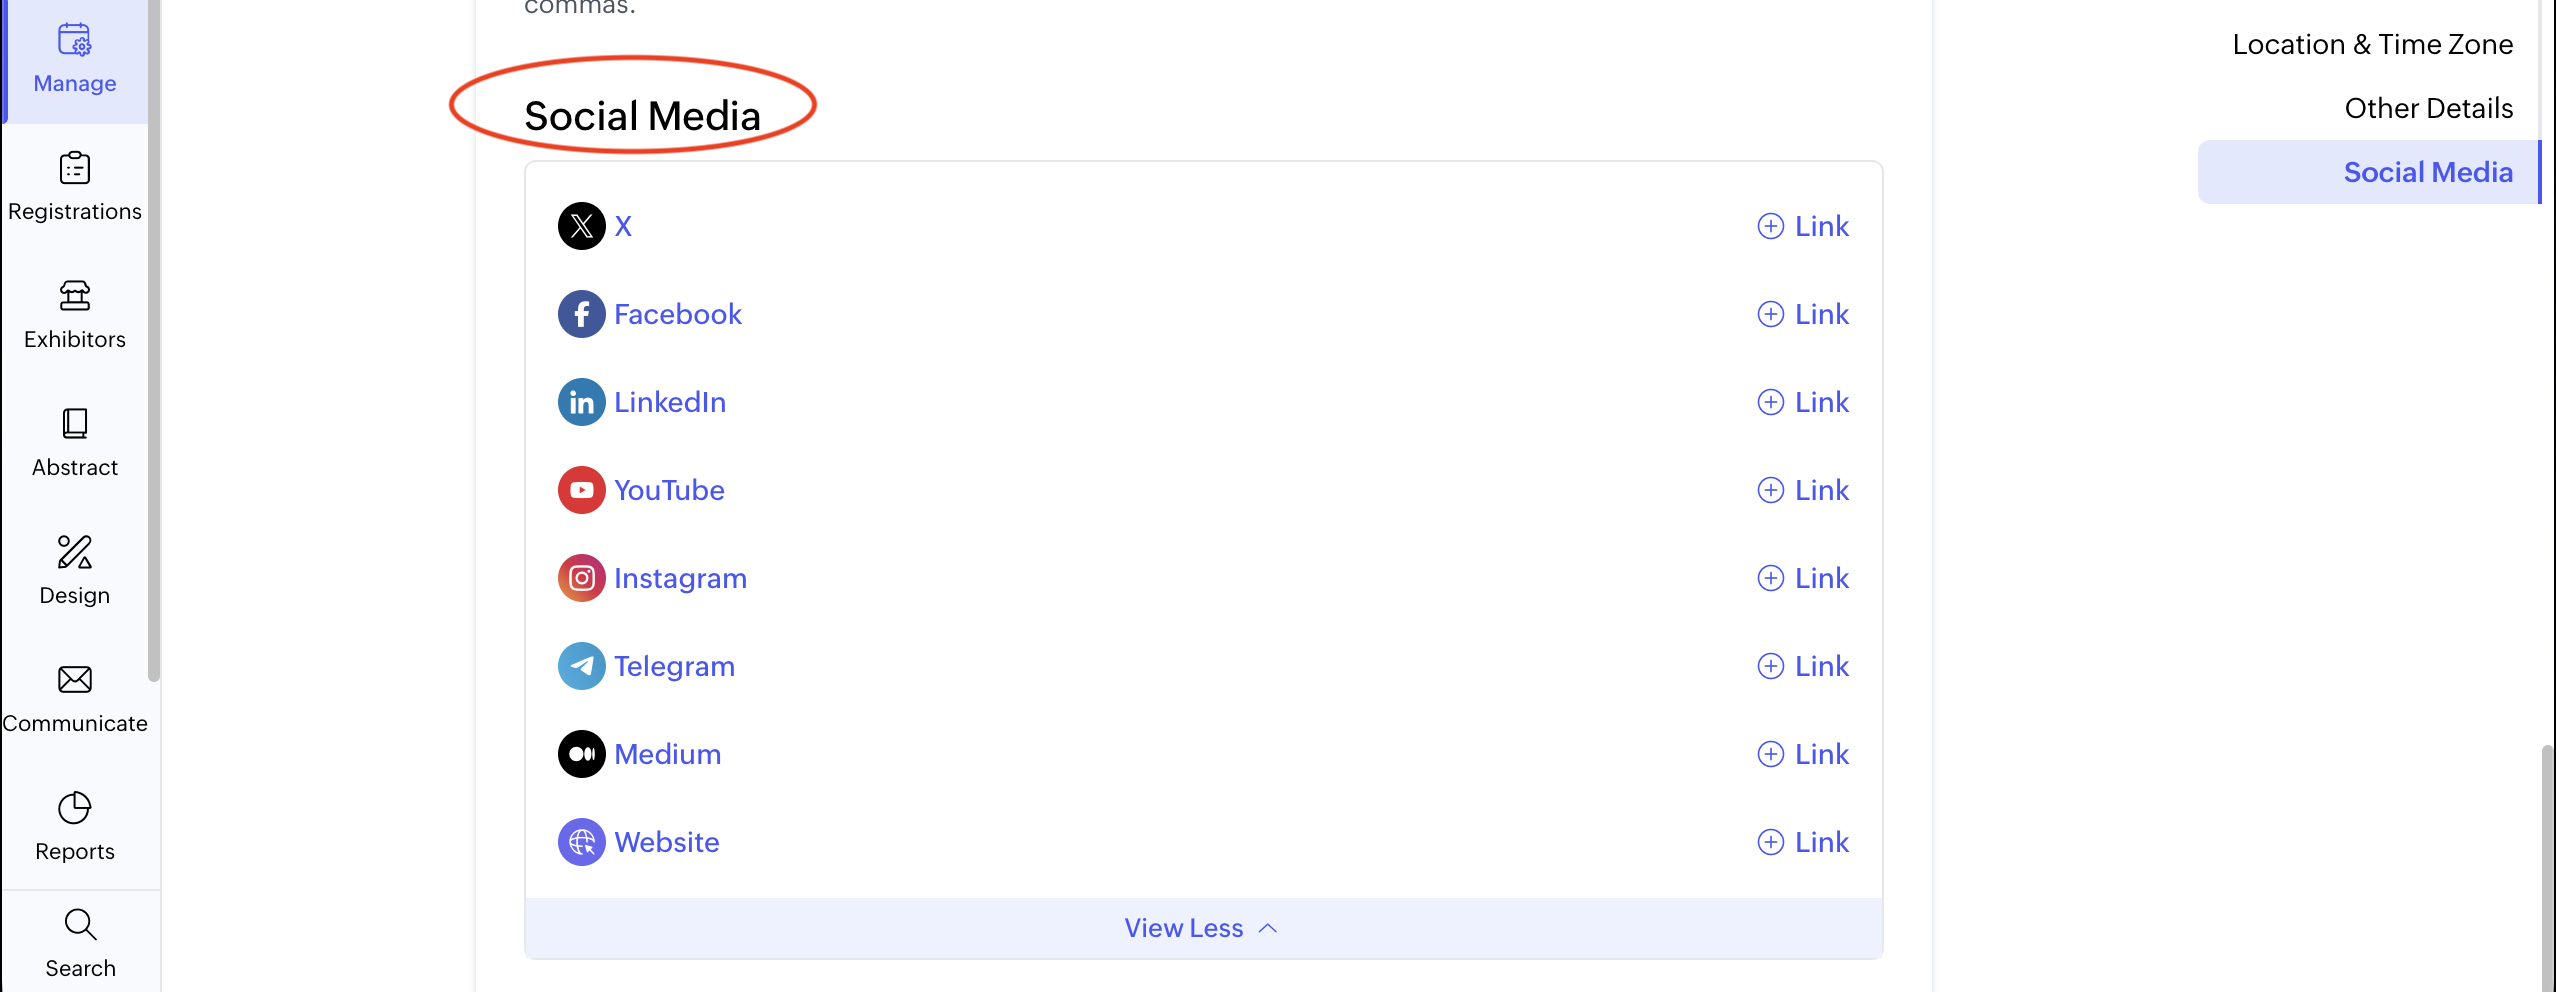
11. Connect your social media
Link your event’s social media pages, such as Twitter, Facebook, LinkedIn, and Instagram.
Manage Event Website Access
1. Navigate to your event settings
Go to Manage > Event Info > Basic Details.
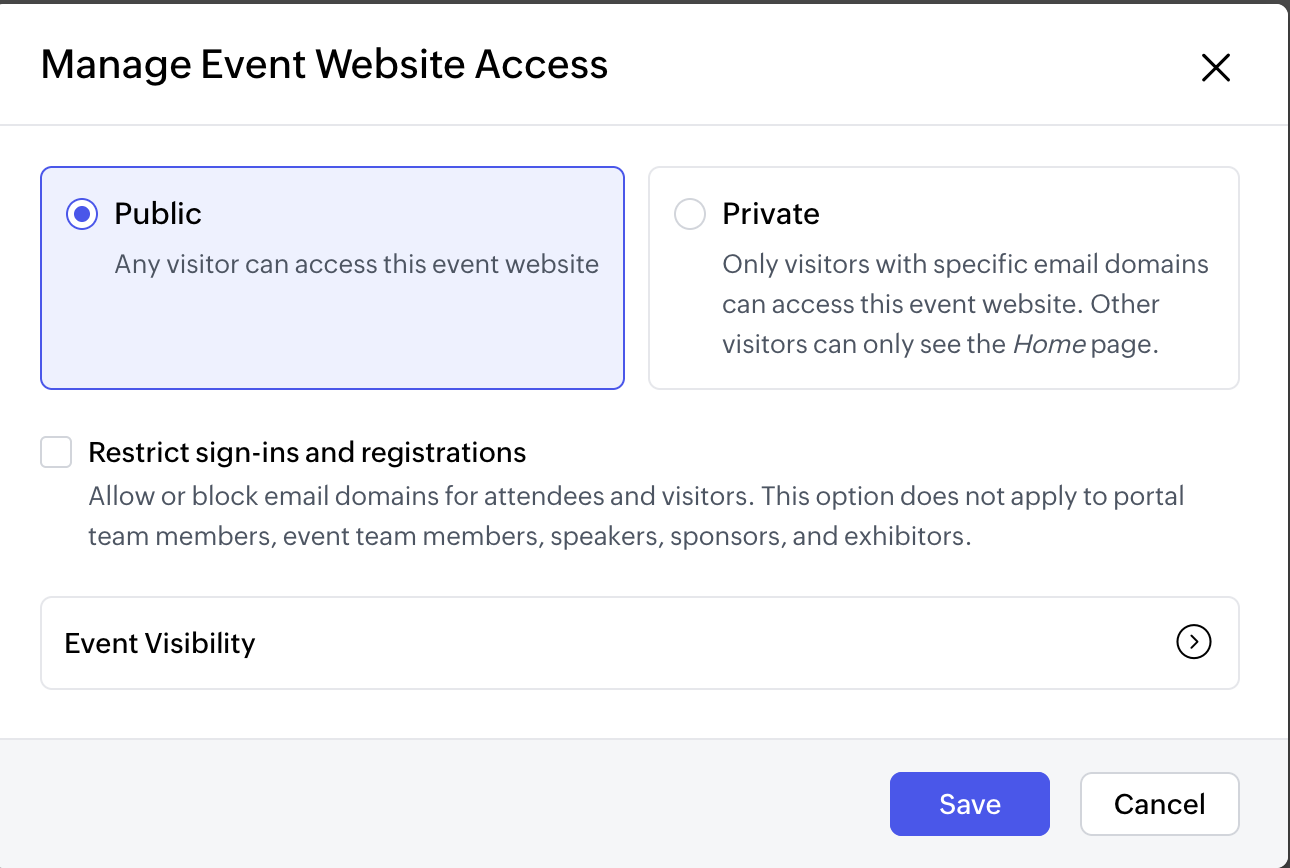
2. Set your website access level
Choose how your event will be accessed:
- Public: Any visitor can access the full event website
- Private: Only visitors with specific email domains can access the full event. Other visitors will only see the Home Page
This allows you to control whether your event is open to everyone or limited to a specific audience.
Access and Edit Your Events
1.Go to the Events tab
View all your events in one place.
2. Find your event
Use the search bar or filters to locate the event you want.

3. Open and update
Click on the event to make changes in the event builder, then republish to apply updates to the live site.
On Event Day
Stay organized and in control during your event:
- Check-in: Track and manage attendee arrivals across the event, sessions, or specific areas
- Rehearsals: Test and prepare sessions before they begin
- Live Sessions: Run your in-person, virtual, or hybrid sessions smoothly
- Badges: Prepare badge designs ahead of time and print attendee details as needed
- Announcements: Share important updates with participants throughout the event


